Routines · 7 min read
How to Choose a Panel Size and Set Up Your Home Recovery Corner
Panel size, distance, mounting and eyewear: an engineer's practical walk-through for building a recovery corner you will actually use every week.
Most people who buy a light panel already know why they want one. The harder questions come after the box arrives: where does it go, how far away should I stand, and did I pick the right size? I have spent a good part of the last six years designing panels and mounting hardware, and the honest answer is that the setup matters about as much as the panel itself. A well-placed panel gets used. A panel tucked in a closet does not.
This guide walks through the decisions in the order I would make them: size first, then location, then mounting, then the small details that make a session easy to start on a busy day.
Step one: match the panel to the area you want to cover
Every Solbeam panel uses the same pairing of 660nm red and 850nm near-infrared light, with a built-in timer. What changes from model to model is the size of the light field, which determines how much of your body you can cover in one session without repositioning.
- Solbeam Mini ($119): Covers roughly a face, a hand or one knee. Good for desks, nightstands and travel.
- Solbeam 300 ($189): A forearm, shoulder or lower back at a time. A sensible first panel for focused routines.
- Solbeam 600 ($259): Torso or thighs in one pass. The size we recommend most often for people who want one panel that does most things.
- Solbeam 1000 ($379): Upper body or lower body from a standing position. Useful when two people in a household share sessions.
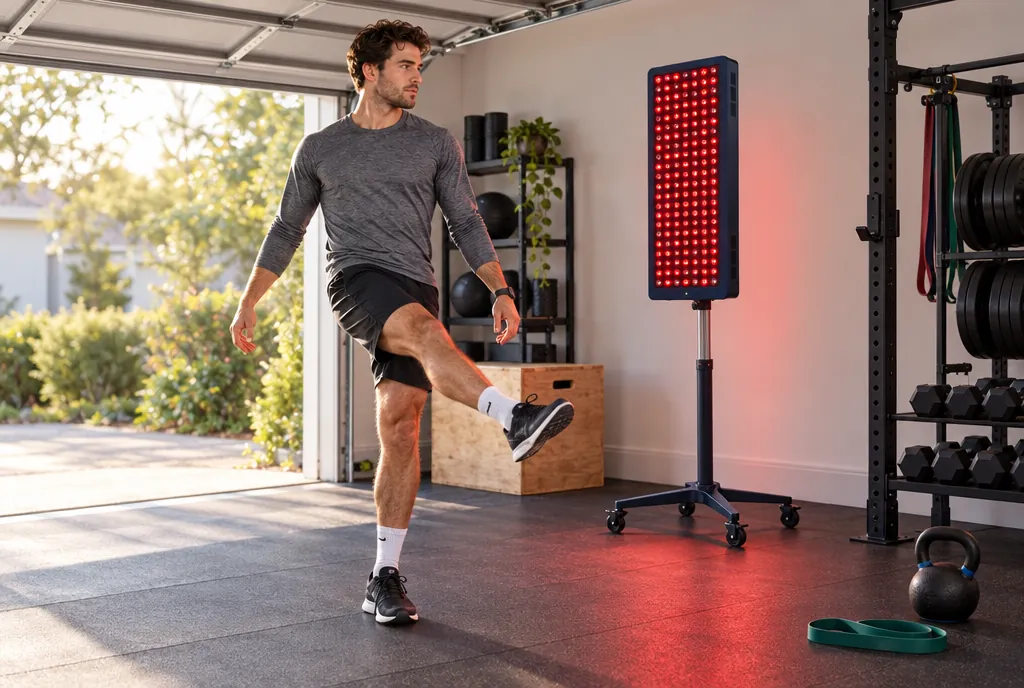
- Solbeam 1500 ($499): Close to full-body coverage when mounted vertically. Best for a dedicated room or garage gym.
A simple test: stand where you plan to use the panel and picture a rectangle around the areas you care about. If that rectangle is larger than the panel at a distance of 6 to 12 inches, size up or plan on two shorter sessions. Panels can also be joined later with a Panel Link Cable, so starting smaller is not a dead end.
Step two: choose a spot you walk past every day
The best location is the one already on your daily path. Common choices include a bedroom wall near where you get dressed, the corner of a home gym, or a bathroom with enough clearance to stand. Look for these basics:
- A standard grounded outlet within reach of the power cord, so you do not need an extension lead across the floor.
- About three feet of clear floor space in front of the panel.
- A wall, door or stand that keeps the panel steady and at the right height.
- Somewhere you can sit or stand comfortably for 10 to 20 minutes.
Avoid spots where moisture lands directly on the panel, such as inside a shower enclosure, and leave a few inches of airflow behind it. The panels run a quiet fan, and they work best when it can breathe.
Step three: mount it at the right height
There are two mounting approaches, and both work well. Pick the one that suits your space.
Door mount
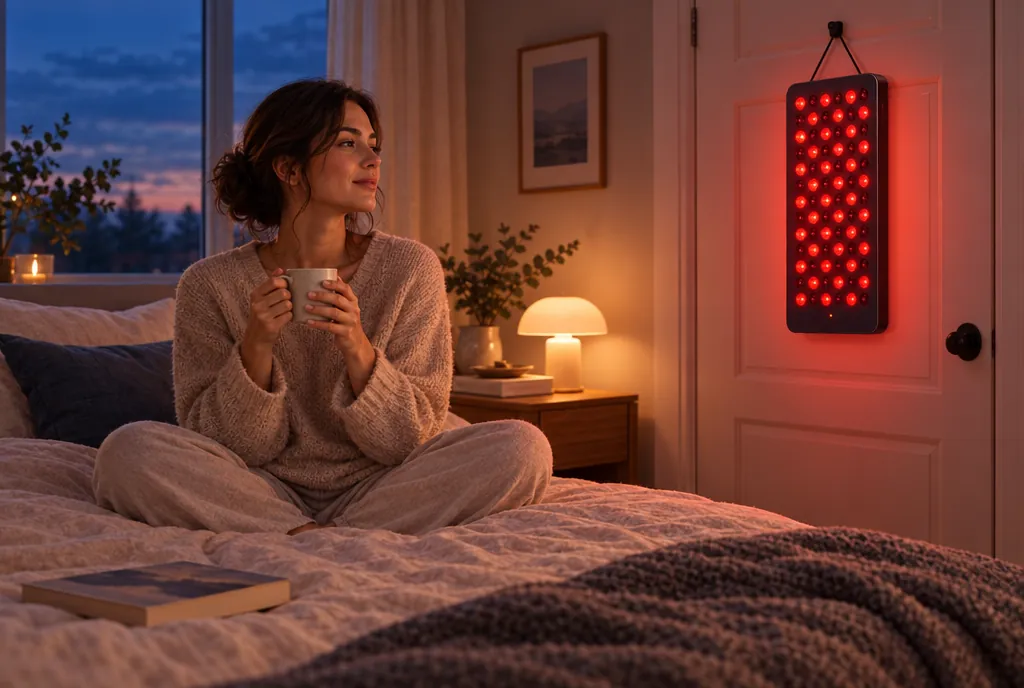
The Door Mount hooks over a standard interior door and lets you adjust the panel height. It suits apartments and rentals, and it means the panel lives out of the way between sessions. Most people set the center of the panel at chest height for upper-body sessions and lower it for legs.
Floor stand
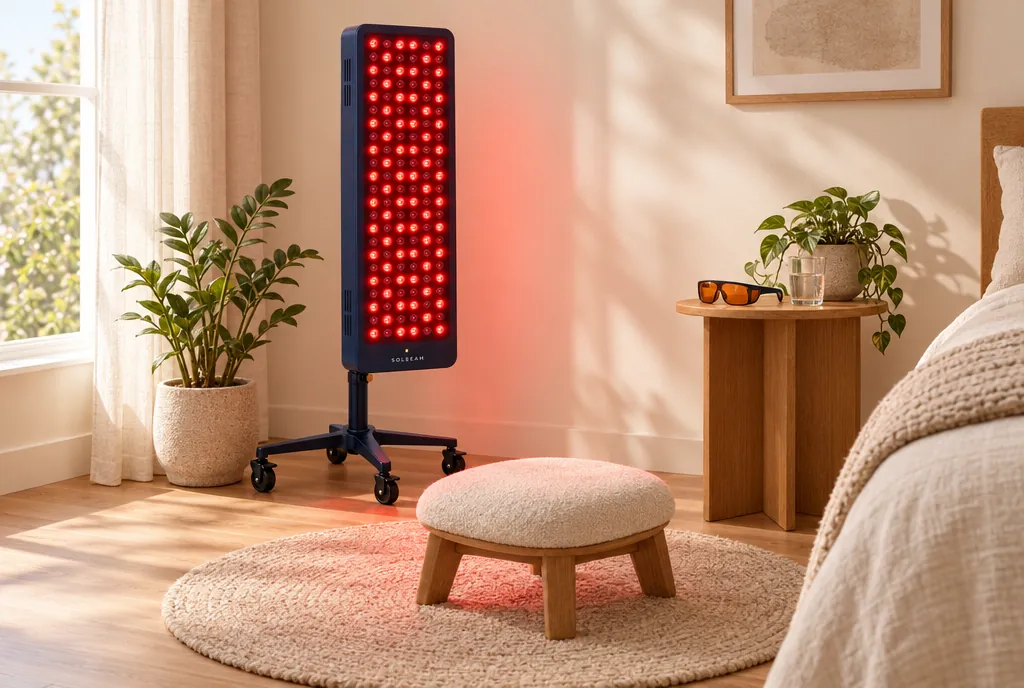
The Floor Stand gives you height and tilt adjustment, which is helpful if you want to sit during sessions or angle the light toward your back. It is the more flexible option for larger panels and shared households, and it rolls easily from one room to another.
Tip from the workshop: mark your standing distance with a strip of tape on the floor. It takes the guesswork out of every session and keeps your routine consistent from week to week.
Step four: set your distance and session length
For most routines, stand or sit 6 to 12 inches from the panel. Closer gives a more concentrated session on a smaller area; farther spreads the light across more of your body. Within that range, comfort is a good guide. You should feel gentle warmth and nothing more.
Session length follows the same practical logic. Here is a starting framework many customers use:
- Weeks one and two: 10 minutes per area, 3 to 4 days a week, at about 12 inches.
- Weeks three and four: 10 to 15 minutes per area, 4 to 5 days a week, moving a little closer if comfortable.
- Ongoing: 10 to 20 minutes per area, most days, as part of your regular routine.
The built-in timer handles the counting, so you can start the panel, step into position and let it switch off on its own. More time is not automatically better. Consistency over weeks matters more than one long session.
Step five: protect your eyes
Red and near-infrared light is bright, and near-infrared is mostly invisible, so your eyes will not always tell you how much light they are receiving. We recommend wearing Protective Glasses for every session, and never looking directly into the panel at close range. If you are using a panel on your face, keep your eyes closed and wear the glasses as well.
Step six: make it easy to start
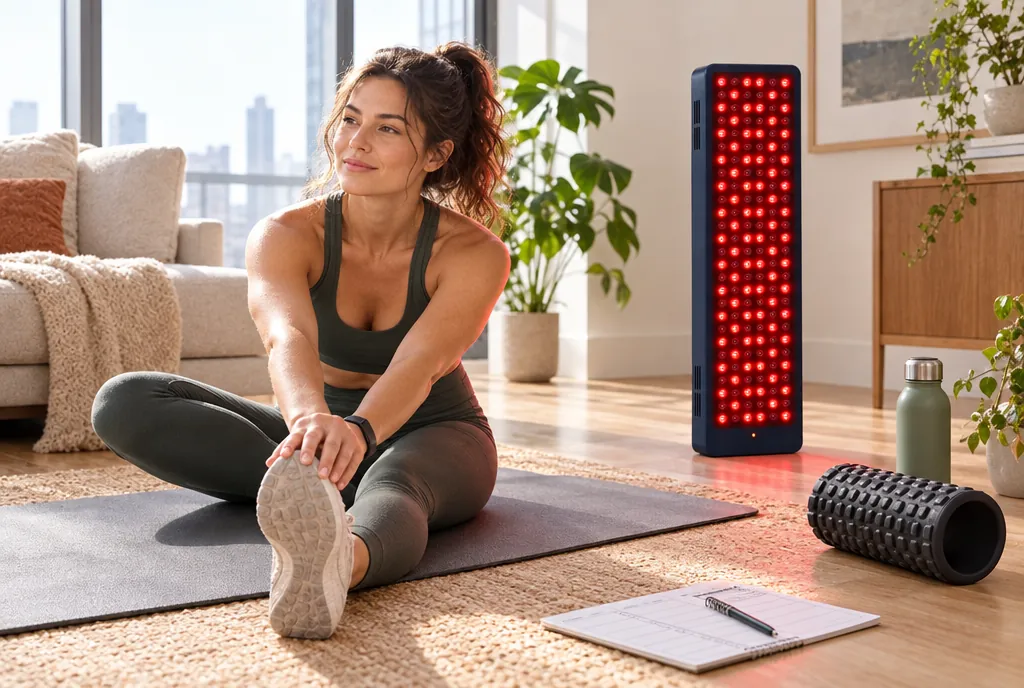
Small details decide whether a corner gets used. Keep your glasses on a hook beside the panel. Put a stool or mat in place so you are not hunting for one. If you use targeted wraps too, store them in a basket nearby. Many people pair sessions with something they already do every day, like a morning stretch, a cup of coffee or a podcast episode.
A few final checks
- Wipe the panel face with a dry, soft cloth once a week to keep it clear of dust.
- Check that the cord is not pinched by a door or stand leg.
- Keep the panel out of reach of children and pets while it is running.
- If you have questions about whether red light therapy suits you, consult a healthcare professional before you start.
If you are still deciding between sizes, our bundles pair a panel with the mounting and eyewear covered above, and our frequently asked questions cover what we hear most often. Set it up once, set it up well, and the routine tends to look after itself.
This product is not intended to diagnose, treat, cure, or prevent any disease. This article is for general wellness information; consult a healthcare professional with questions about your own health.